End-to-End Testing with Sanity Studio & Playwright
- sanity-io
- e2e
- testing
- functional testing
Introduction
At my full time job at WebriQ, we've come to a point that we had to automate things. One of my personal goals and focus this year is to improve our processes in developing and releasing Stackshift.
To give you a little bit of context, Stackshift is composed of a significant number of components ranging from header, hero, cta, features, all the way to footer and each of these components have variants in them, Variant A, Variant B, Variant C, Variant D, 4 on average each representing a unique yet proven design that works for modern sites today.
Normally, we wouldn't need to set this up but seeing how much time and effort we take to repeatedly do the manual work, we thought it's about time to invest on automating this process.
This post will show you how to set up Playwright in your Sanity project in order to perform end-to-end testing.
You might ask, what do I need this for?
Normally, you wouldn't need this. You'll know when you do and when the time comes, I hope this guide will help you.
As an example, you built a tool which does a couple of things. You can use Playwright to automate the testing as like how a real user would use it.
Pre-requisites
A Sanity Studio project run locally. That's all! 👏..
If you haven't, get started by signing up for an account then creating your first Studio.
Installing Playwright and dependencies
First, we need to install Playwright. Depending on your prefered package installer, you might need to make adjustments.
npm init playwright@latestUpon bootstrapping, you'll be asked with the following questions. Just proceed with the defaults.
Initializing project in '.'
✔︎ Where to put your end-to-end tests? ⋅ tests
✔︎ Add a GitHub Actions workflow? (y/N) ⋅ false
✔︎ Install Playwright Test (yarn add --dev @playwright/test)
This will go through installing dependencies and downloading browsers for the first setup. Once done, you'll be greated with a ✔︎ Success and have the commands available for you.
yarn playwright testWriting our first test
Playwright comes with a code generator which allows us to easily write test as it records our actions as we perform our tests. This is a great way to get started as we can easily relate to it.
To begin with, let's generate our first test with:
npx playwright codegenAfter running the command, a browser will launch.
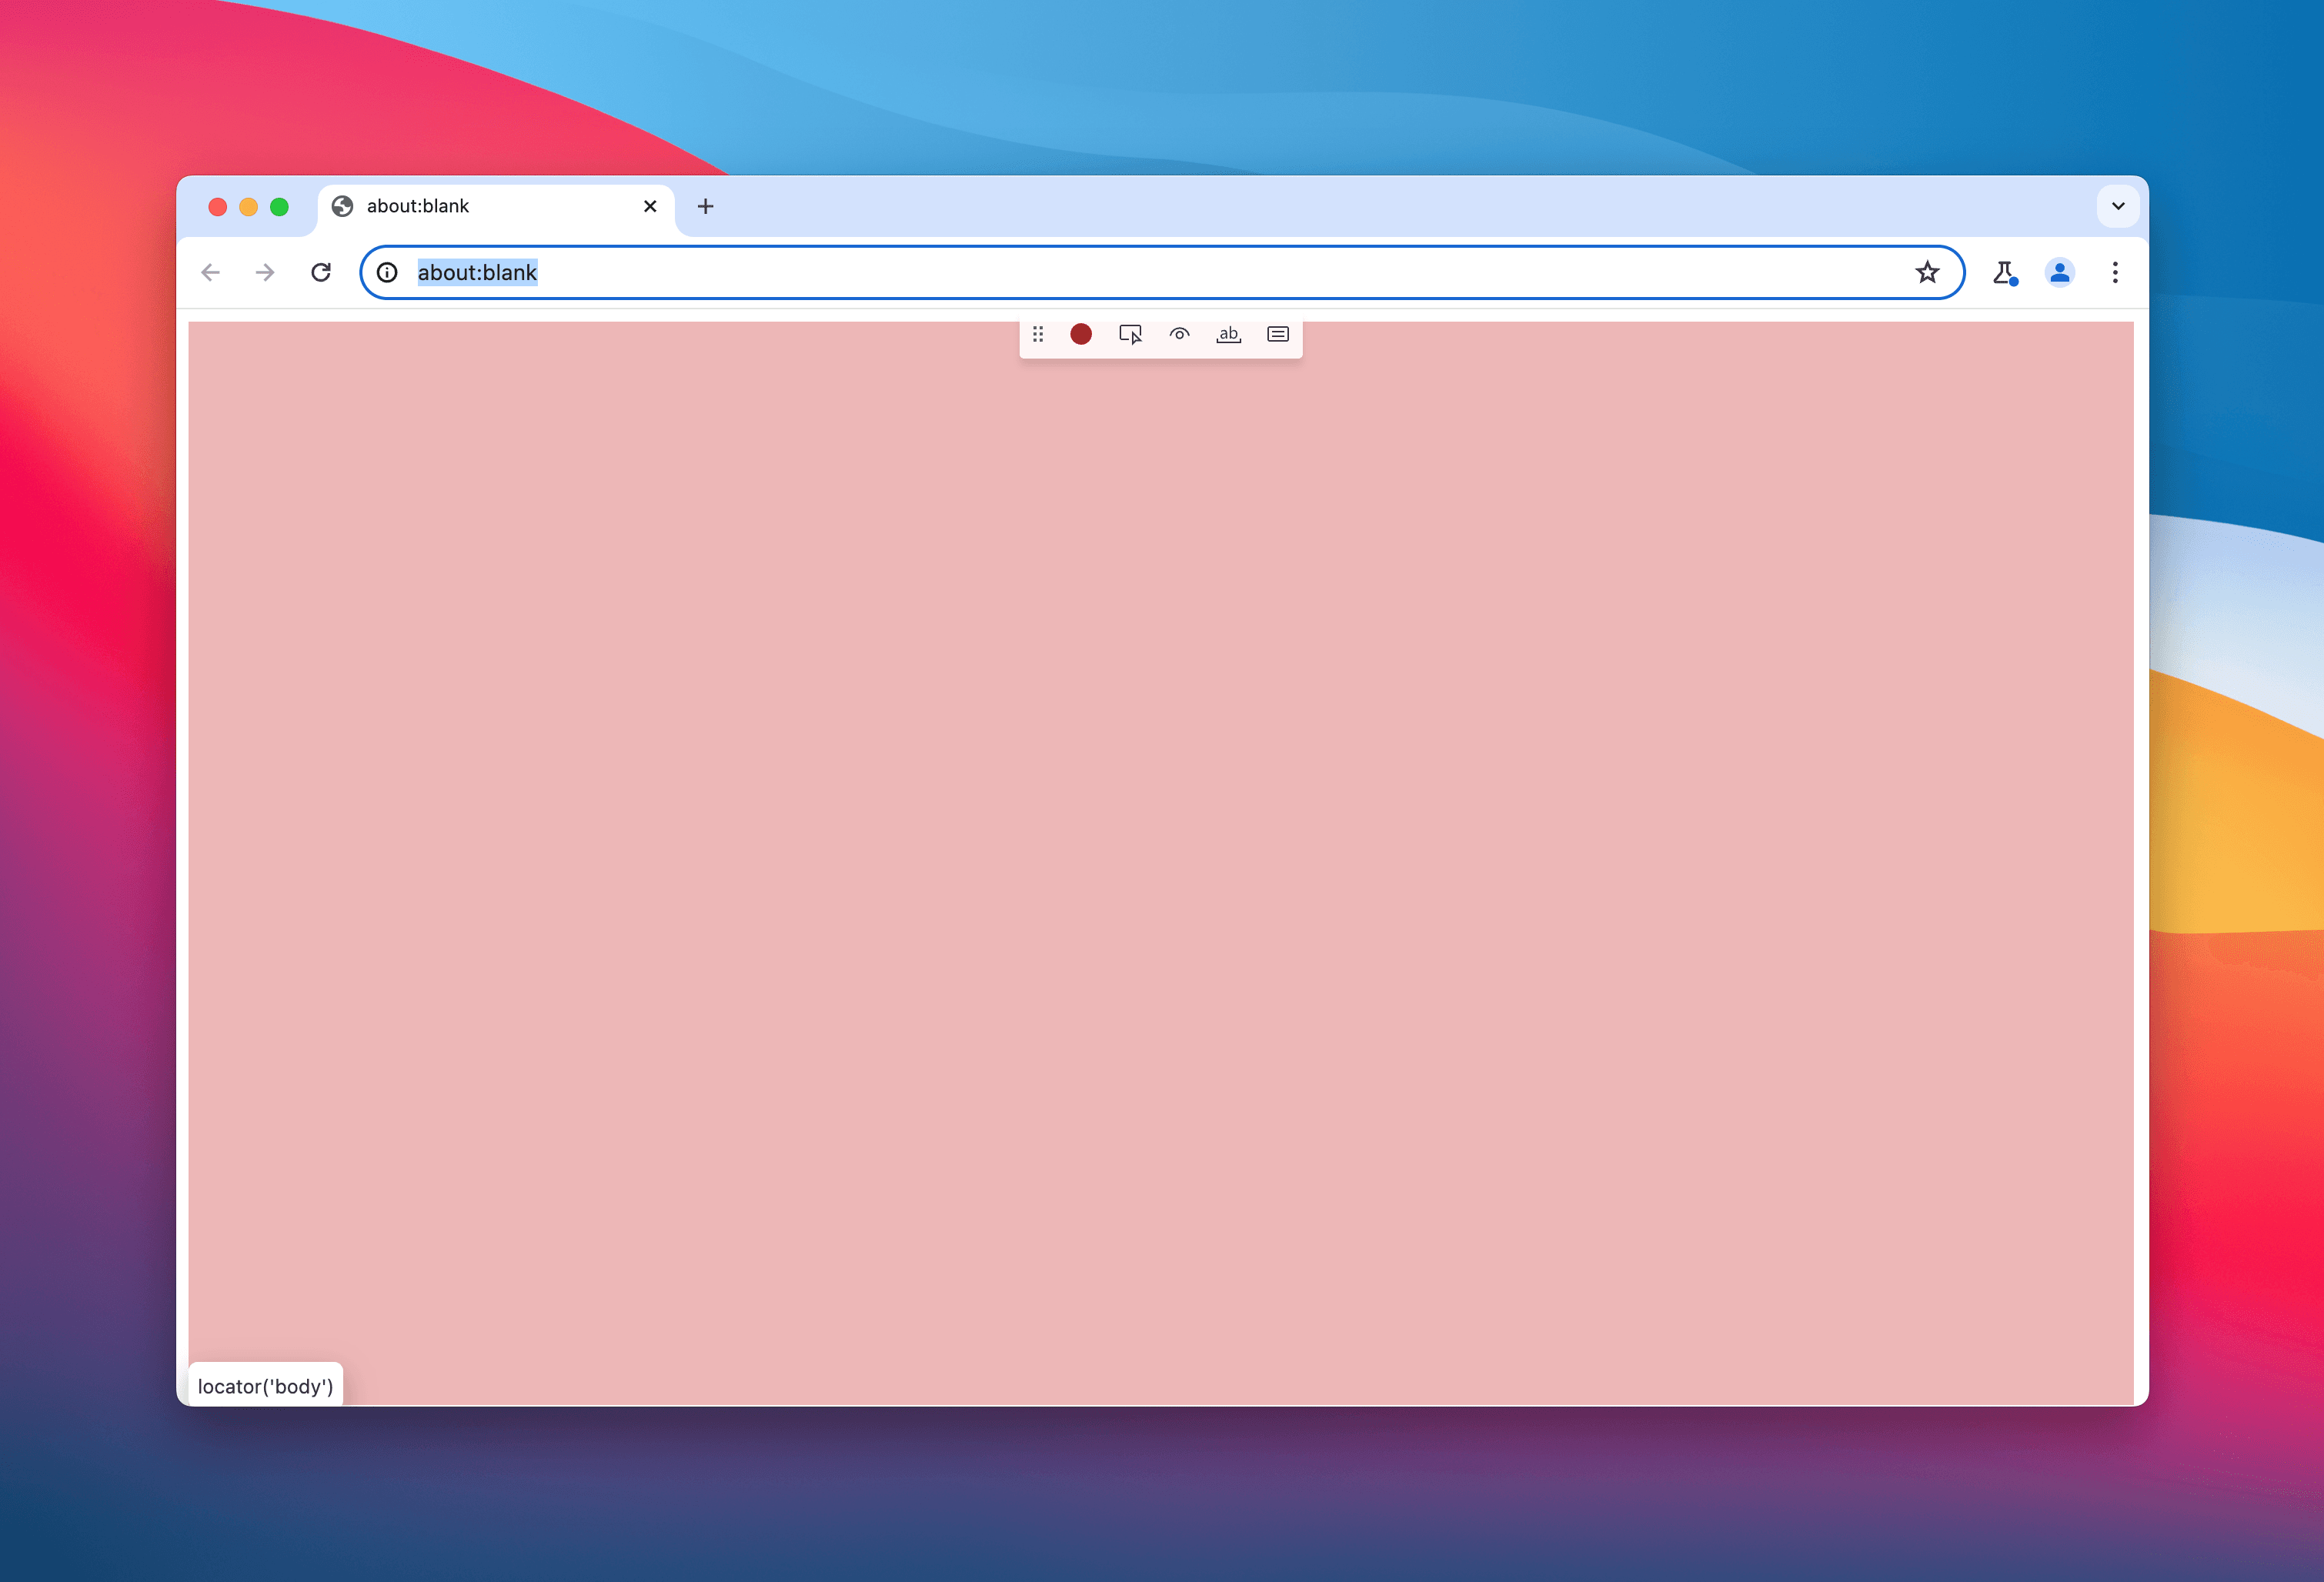
as well as another inspector browser where code is generated after performing some actions.
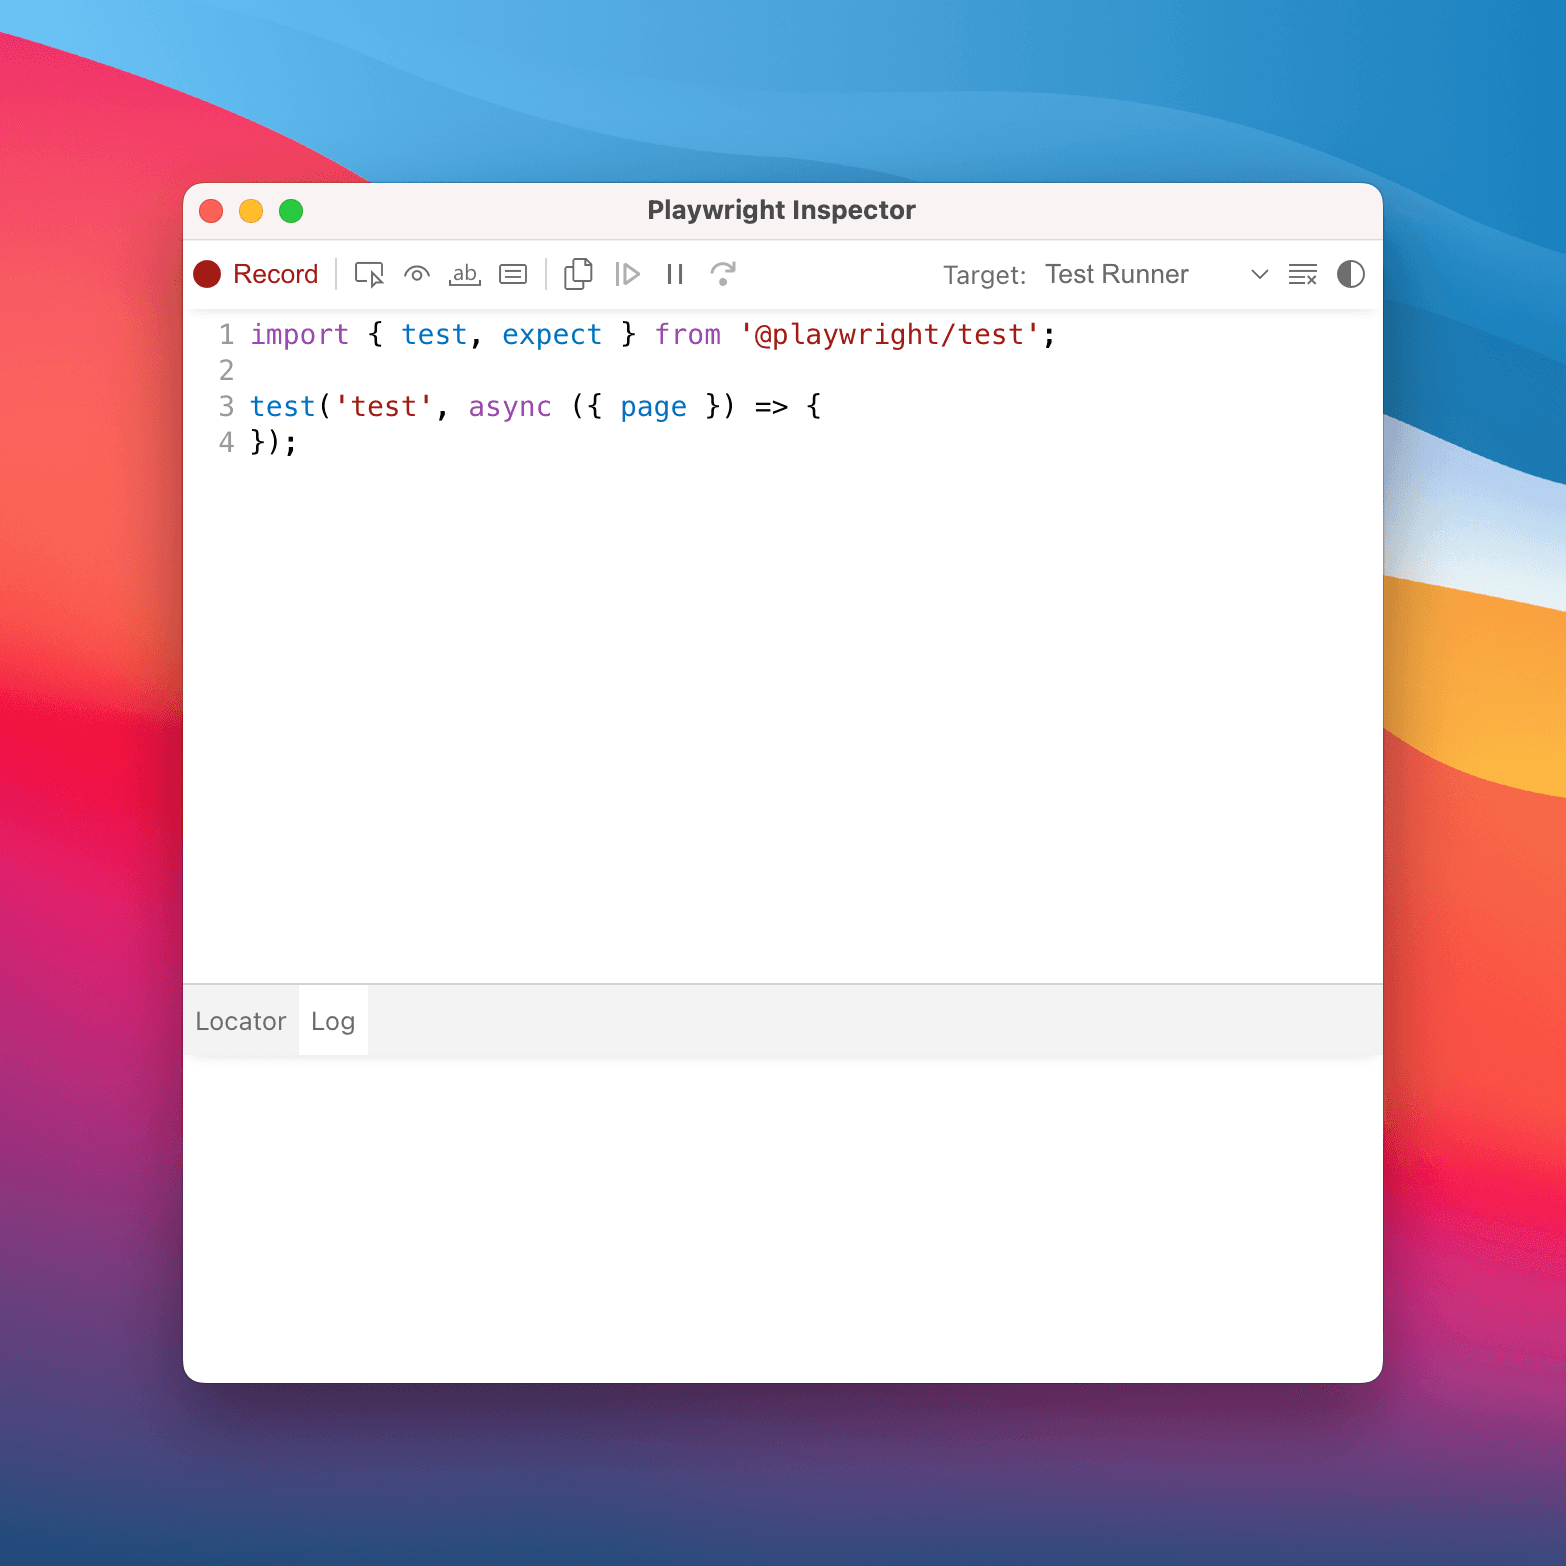
Let's write a test to verify that we can create a blog post.
- In the Chromium browser as per above, let's navigate to
http://localhost:3333. - At this point, we'll need to authenticate. For now, just authenticate with the account type you used to sign up. Later on, we'll do authentication setup separately.
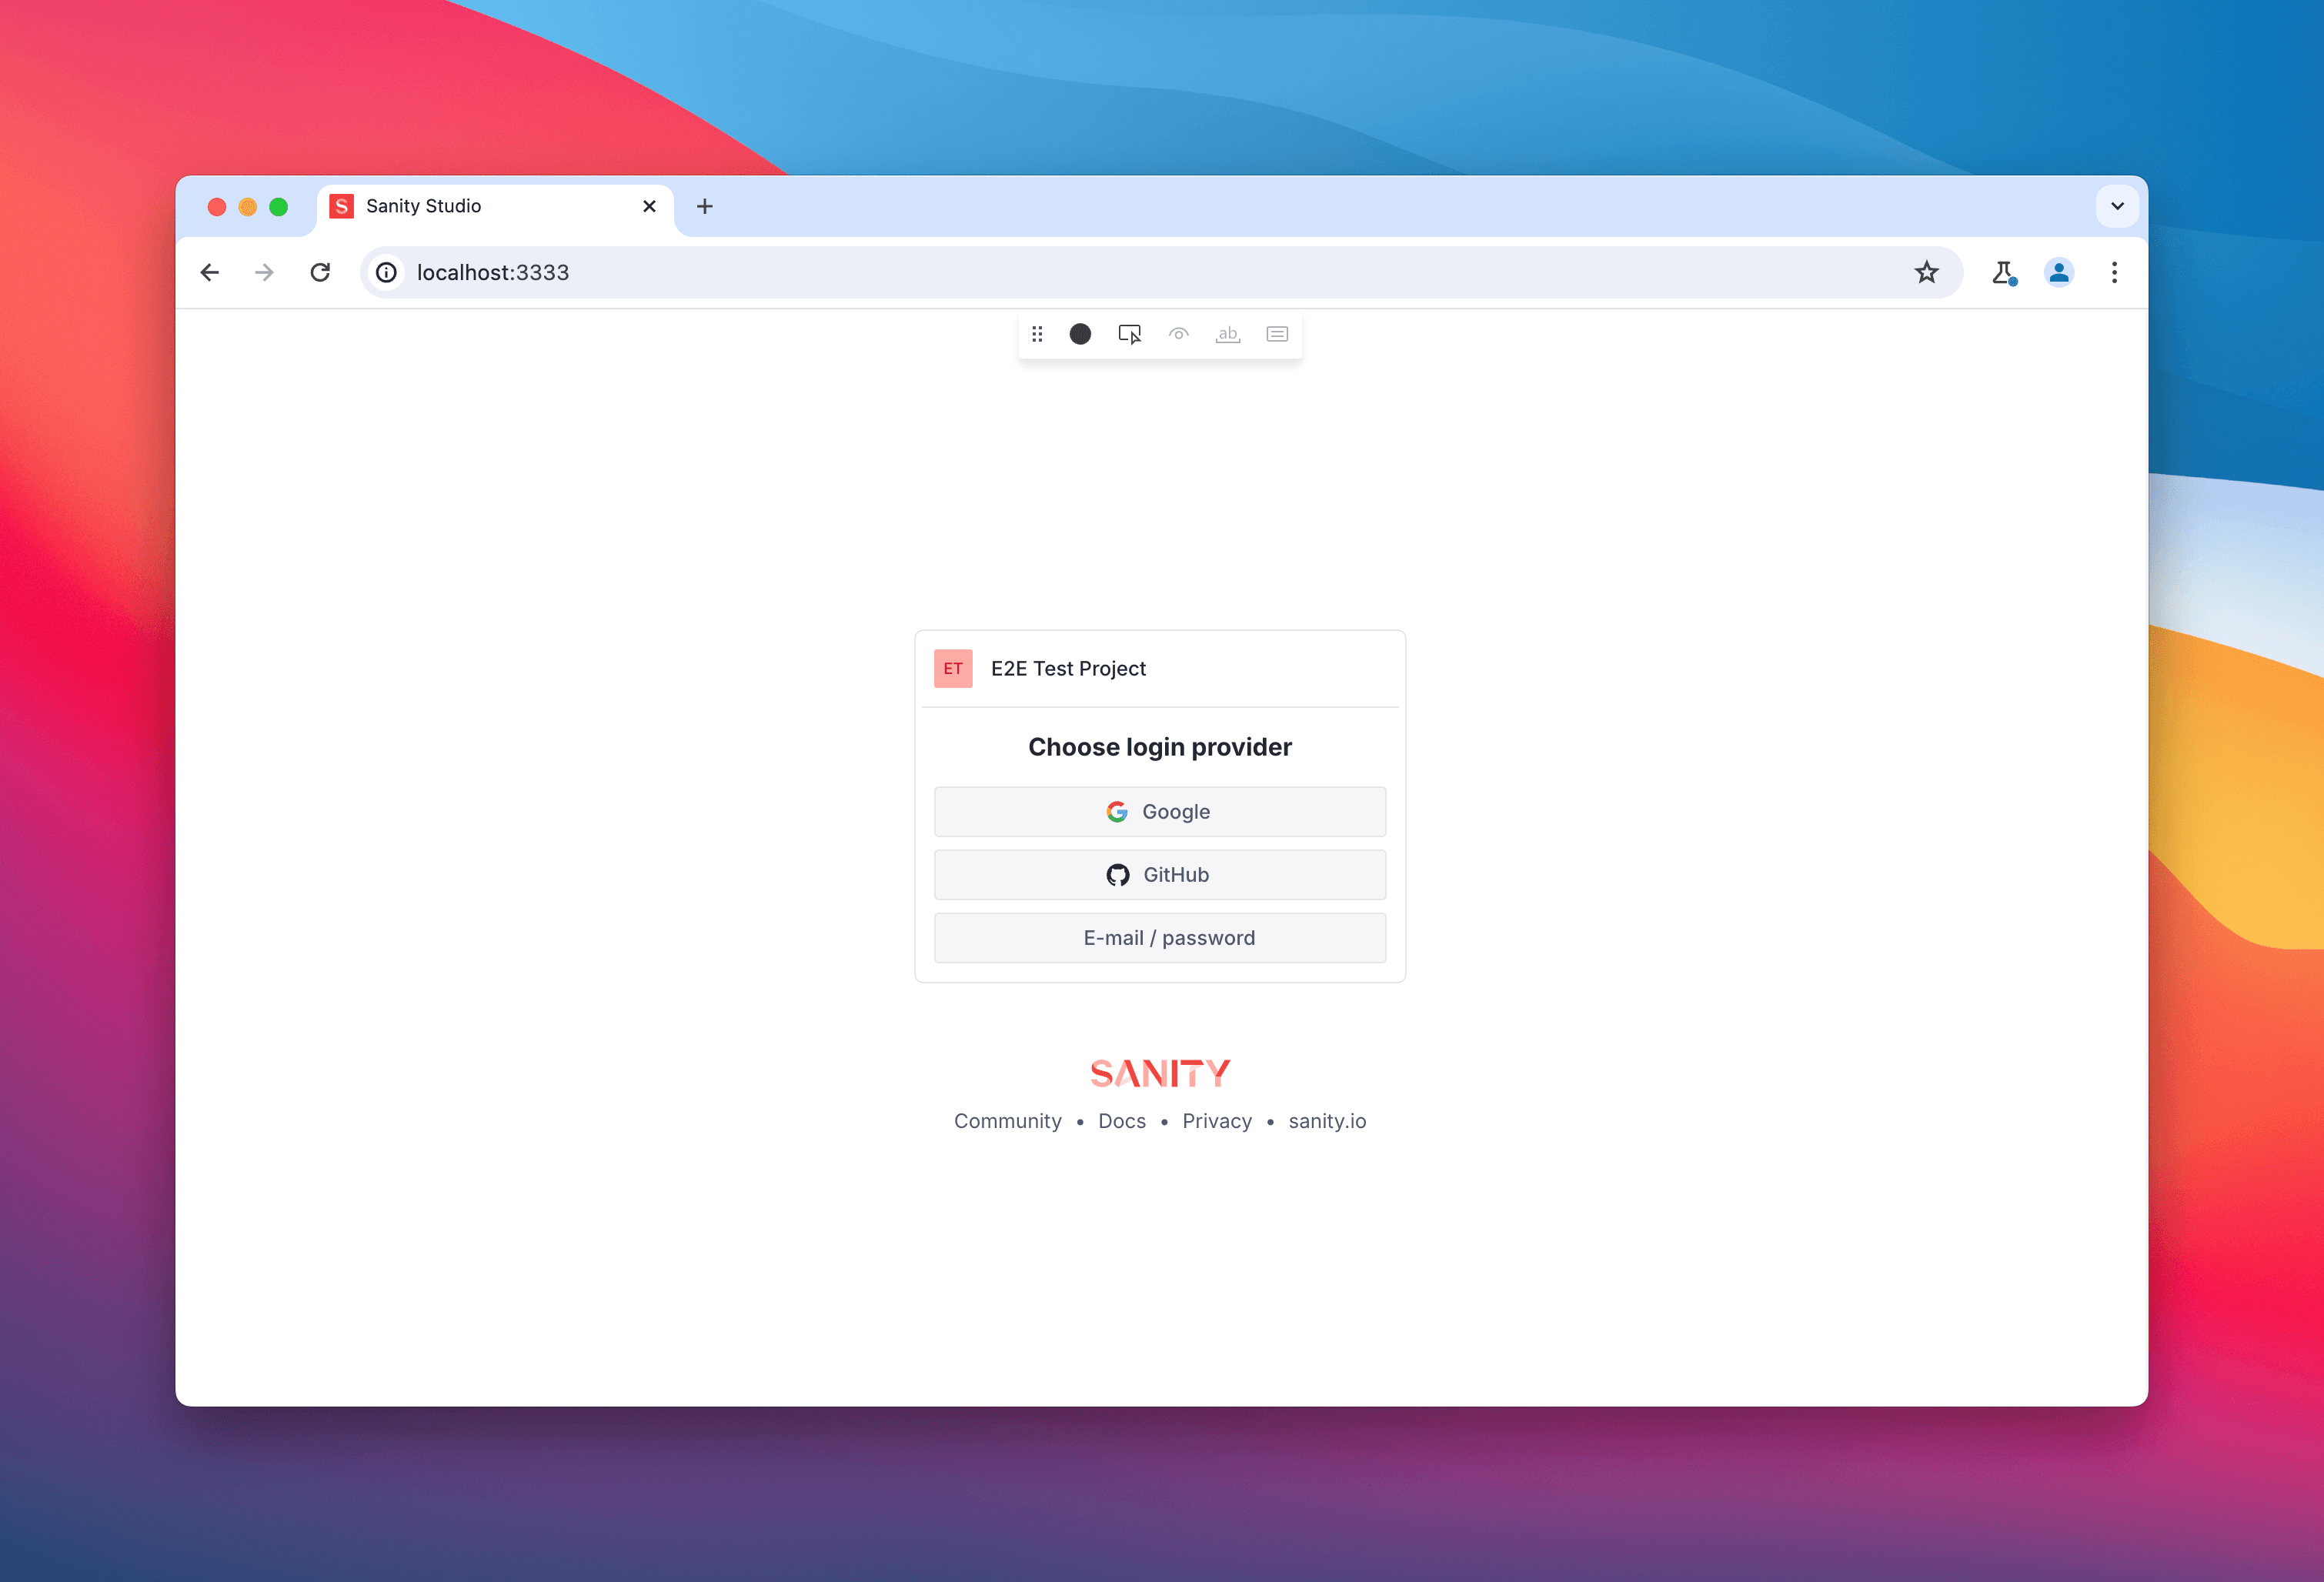
- After logging in, we can then start recording and do our usual thing like here in my case, it's creating a new post.
and just like that, it'll output the code we need.
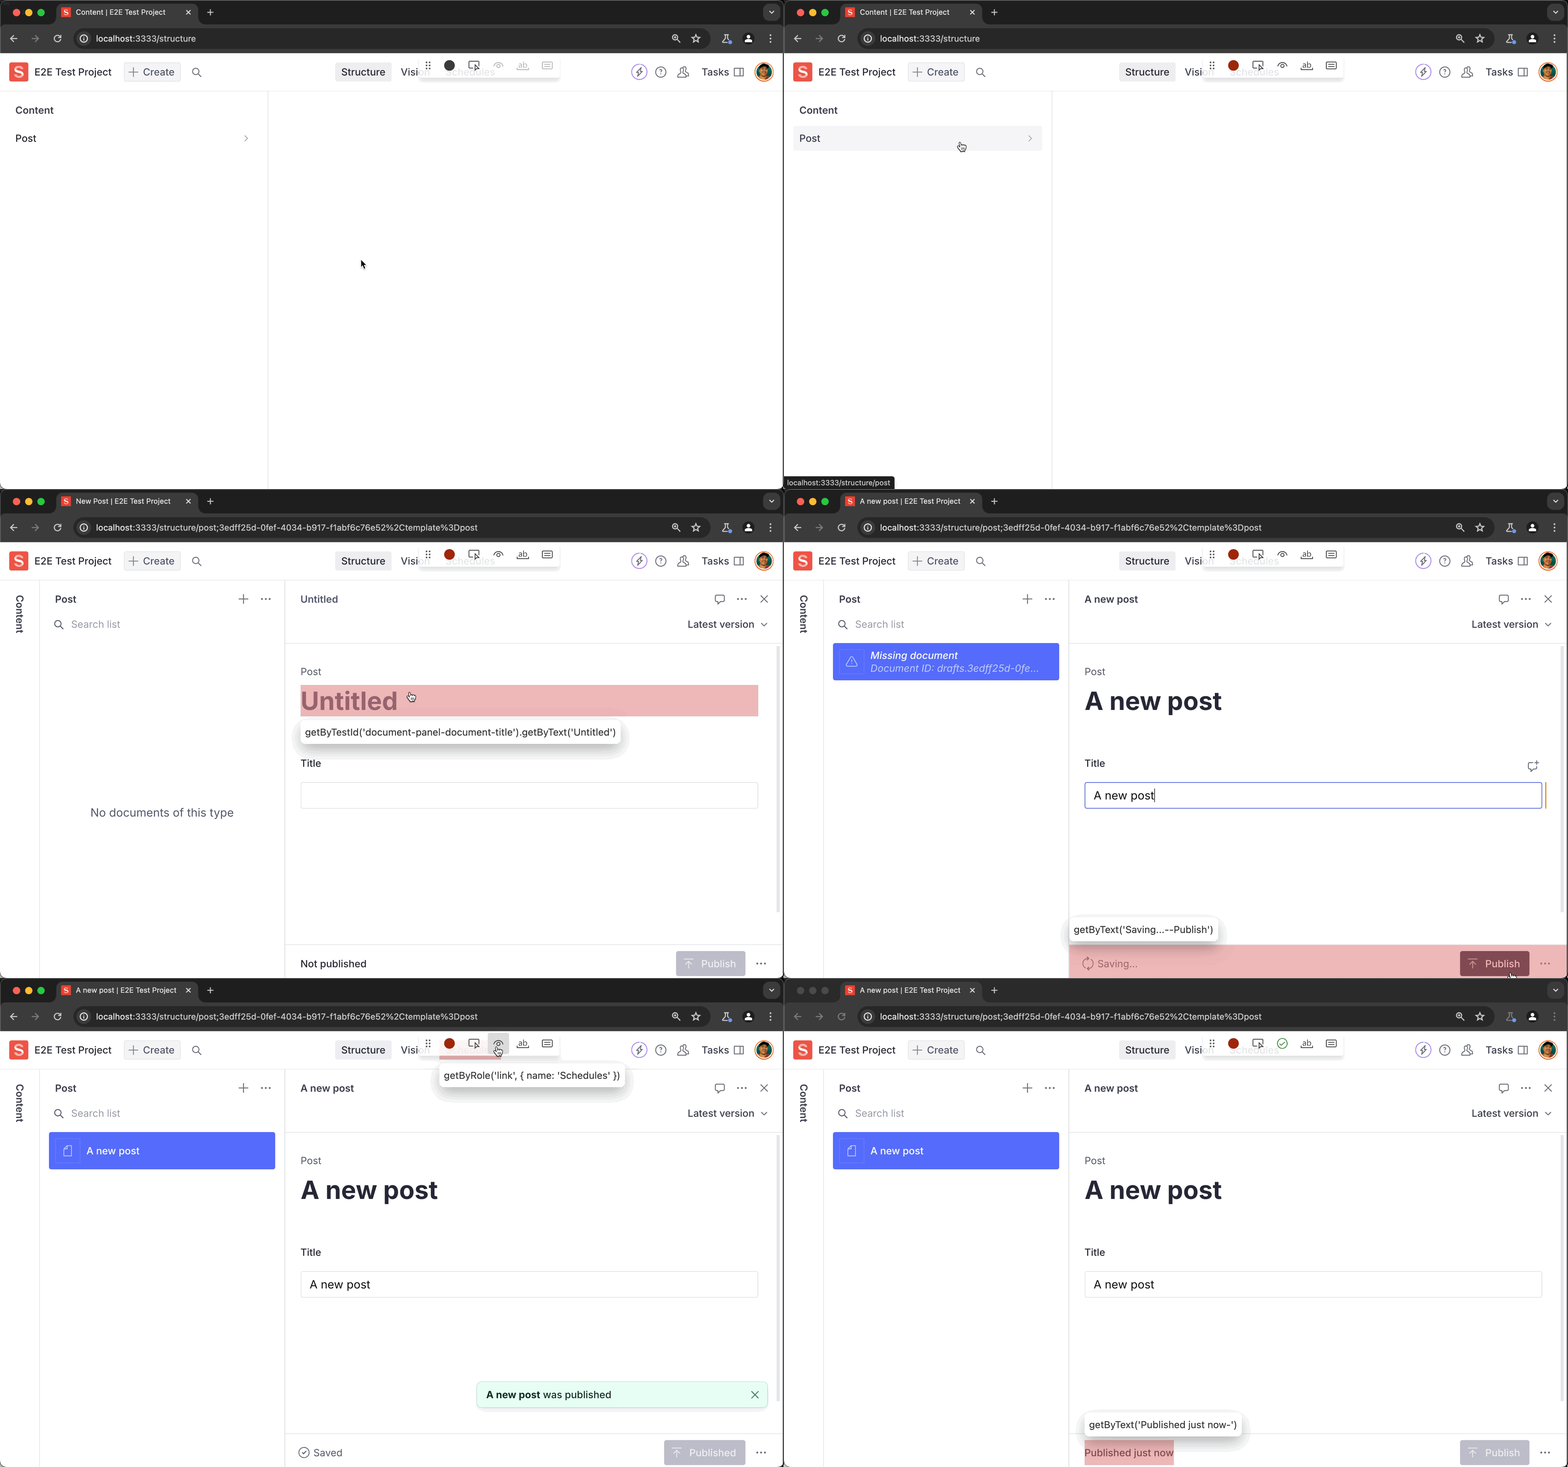
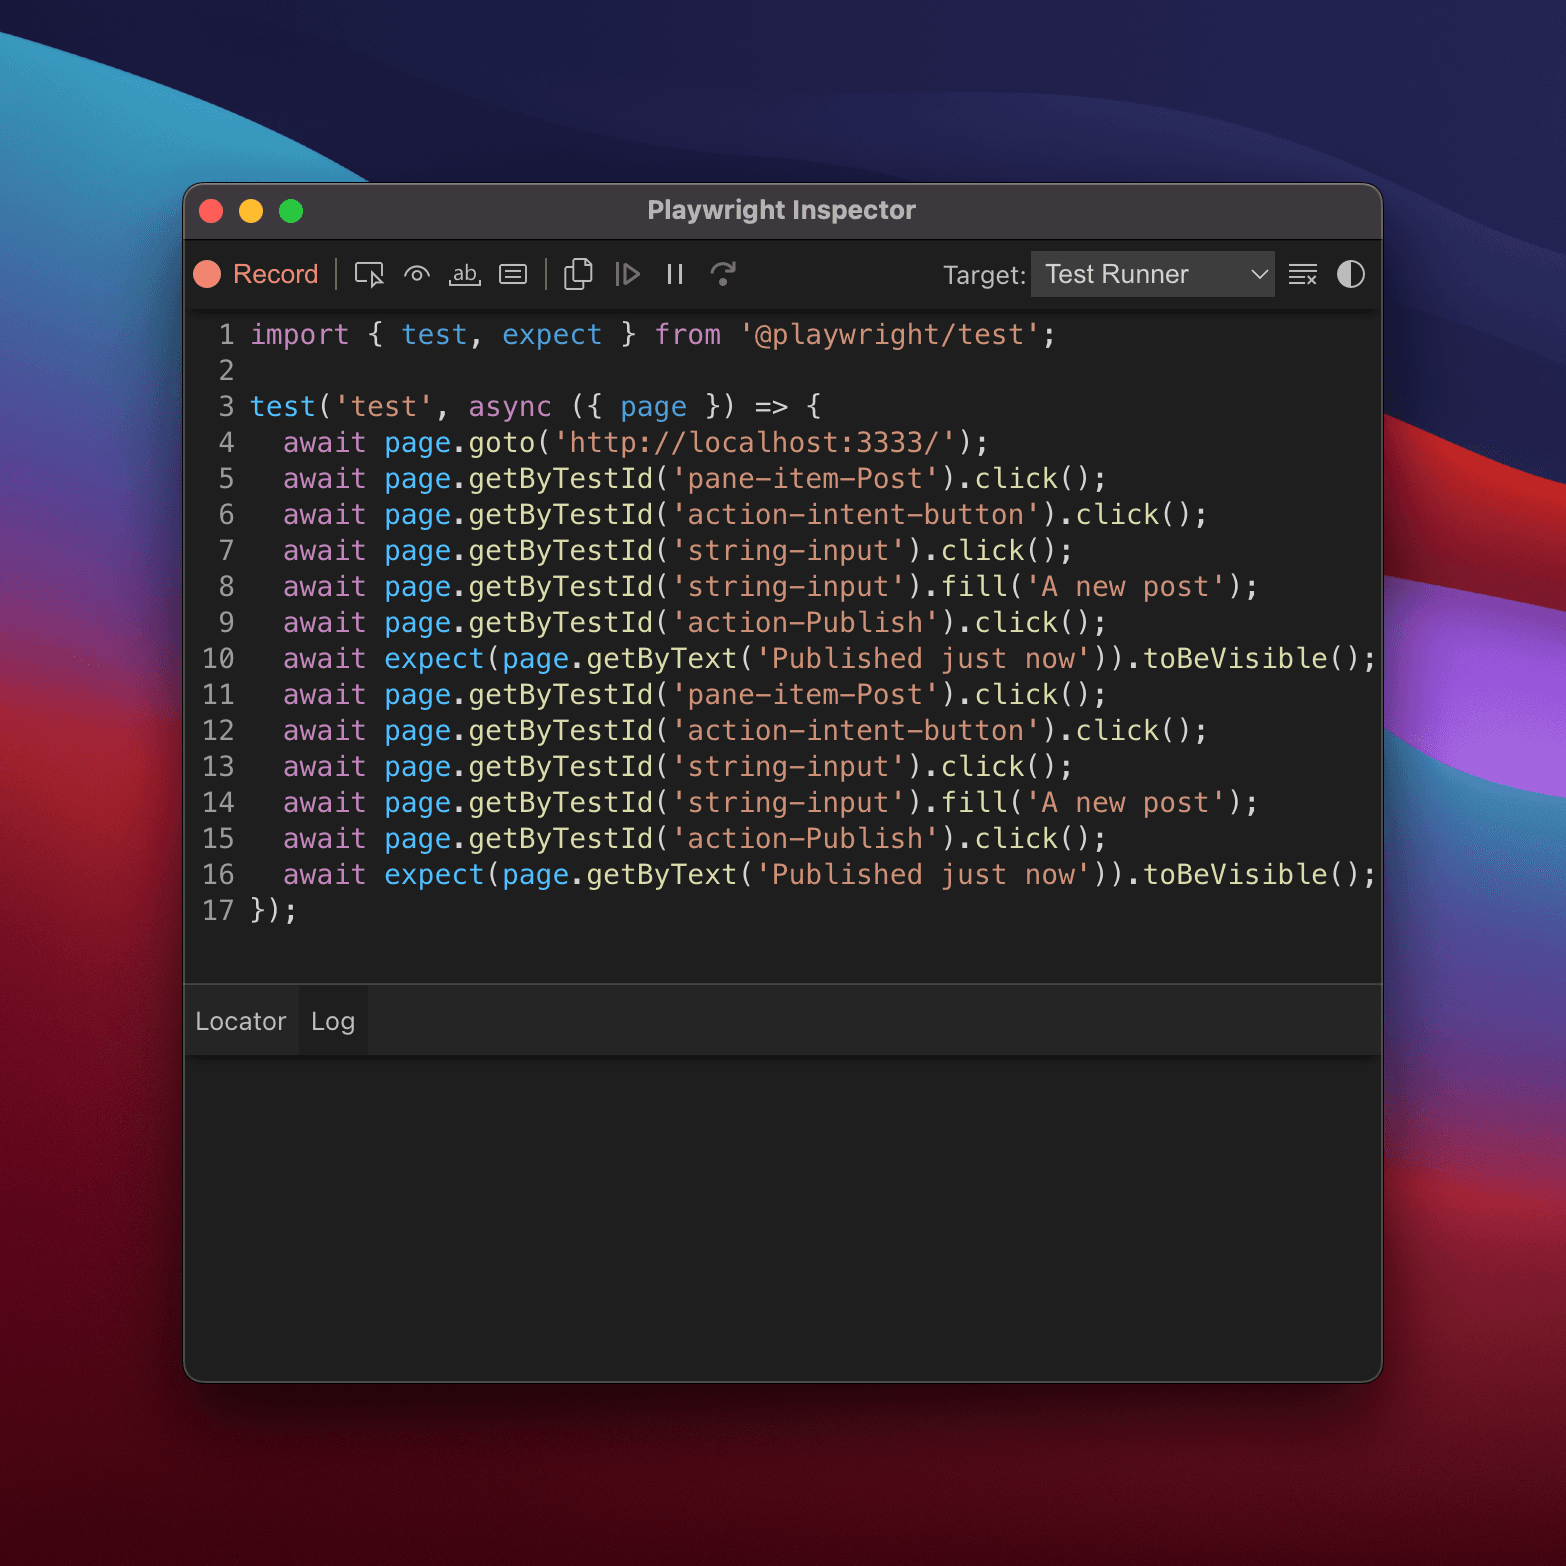
- Create a new file named
sample.spec.tsor if you're using JavaScript, then you can just use the.jsextension and paste that in! - Voila. You just wrote your first test. Well done! 👏
Authentication with Sanity Studio
At this point, when you run the test, it'll not succeed because Playwright can't authenticate by itself. We need to find a way to authenticate. The best way I could find for now is to use this approach - Basic: shared account in all tests.
All we gotta do is do a one time set up and we can reuse our authenticated session later on. If need be, we can re-authenticate when Sanity auth expires.
Let's get into it:
- Create
tests/auth.setup.tsthat will prepare authenticated browser state for all other tests. - Copy the code below:
import { test as setup, expect } from '@playwright/test'

const authFile = 'playwright/.auth/user.json'

setup('authenticate', async ({ page }) => {
  // Update your `.env.development` to make sure this are not empty
  const username = process.env.SANITY_STUDIO_ACCOUNT_USERNAME
  const password = process.env.SANITY_STUDIO_ACCOUNT_PASSWORD

  if (!username || !password) {
    throw new Error('Verify username and password is properly set!')
  }

  // Perform authentication steps. Replace these actions with your own.
  await page.goto('http://localhost:3333/')
  await page.getByRole('link', { name: 'E-mail / password' }).click()
  await page.getByPlaceholder('jane@example.com').click()
  await page.getByPlaceholder('jane@example.com').fill(username)
  await page.getByPlaceholder('jane@example.com').press('Tab')
  await page.getByLabel('Password').fill(password)
  await page.getByRole('button', { name: 'Sign in' }).click()

  // Wait until the page receives the cookies.
  //
  // Sometimes login flow sets cookies in the process of several redirects.
  // Wait for the final URL to ensure that the cookies are actually set.
  await page.waitForURL('http://localhost:3333/')

  // Alternatively, you can wait until the page reaches a state where all cookies are set.
  await expect(page.getByTestId('new-document-button')).toBeVisible()

  // End of authentication steps.

  await page.context().storageState({ path: authFile })
})- Create a
.env.developmentin your root project and add in the following variables, make sure to update the values accordingly.
SANITY_STUDIO_ACCOUNT_USERNAME=me+playwrightesting@dorelljames.com
SANITY_STUDIO_ACCOUNT_PASSWORD=MyTestPassword- In our
playwright.config.ts, we need to add it as dependency telling Playwright that all tests need to perform the above so we can expect that everypageis authenticated thereafter and our tests will now passed.
// playwright.config.ts
import { defineConfig, devices } from '@playwright/test';
import dotenv from 'dotenv' // 👈 Use ES6 syntax instead of `require('dotenv').config()

/**
 * Read environment variables from file.
 * https://github.com/motdotla/dotenv
 */
dotenv.config() // 👈 Replaced `require('dotenv').config();` with ES6 so our `.env.development` variable will be read.

export default defineConfig({
  projects: [
    // Setup project
    { name: 'setup', testMatch: /.*\.setup\.ts/ }, // 👈  Adding this matcher

    {
      name: 'chromium',
      use: {
        ...devices['Desktop Chrome'],
        // Use prepared auth state.
        storageState: 'playwright/.auth/user.json', // 👈  Adding this auth file storage
      },
      dependencies: ['setup'], // 👈  Adding this to tell the above setup is needed before this
    },
- Lastly, create a file
playwright/.auth/user.jsonand put an{}inside as its content.
Running Our Test
Re-run the test and it should authenticate by now. Your playwright/.auth/user.json should have values now - cookie information and other related data on the current browser session.
And that's it folks. Thank you! Let me know if it works for you.