Creating my first Sanity.io plugin
- sanity.io
- plugin development
- sanity-io
I recently published sanity-plugin-netlify-deploy-status-badge - a Sanity studio plugin that displays your Netlify's site build status.

It also displays the latest deploys of your site - UI/UX looks like a carbon copy of Netlify App's deploys page. Oops, sorry! 😅
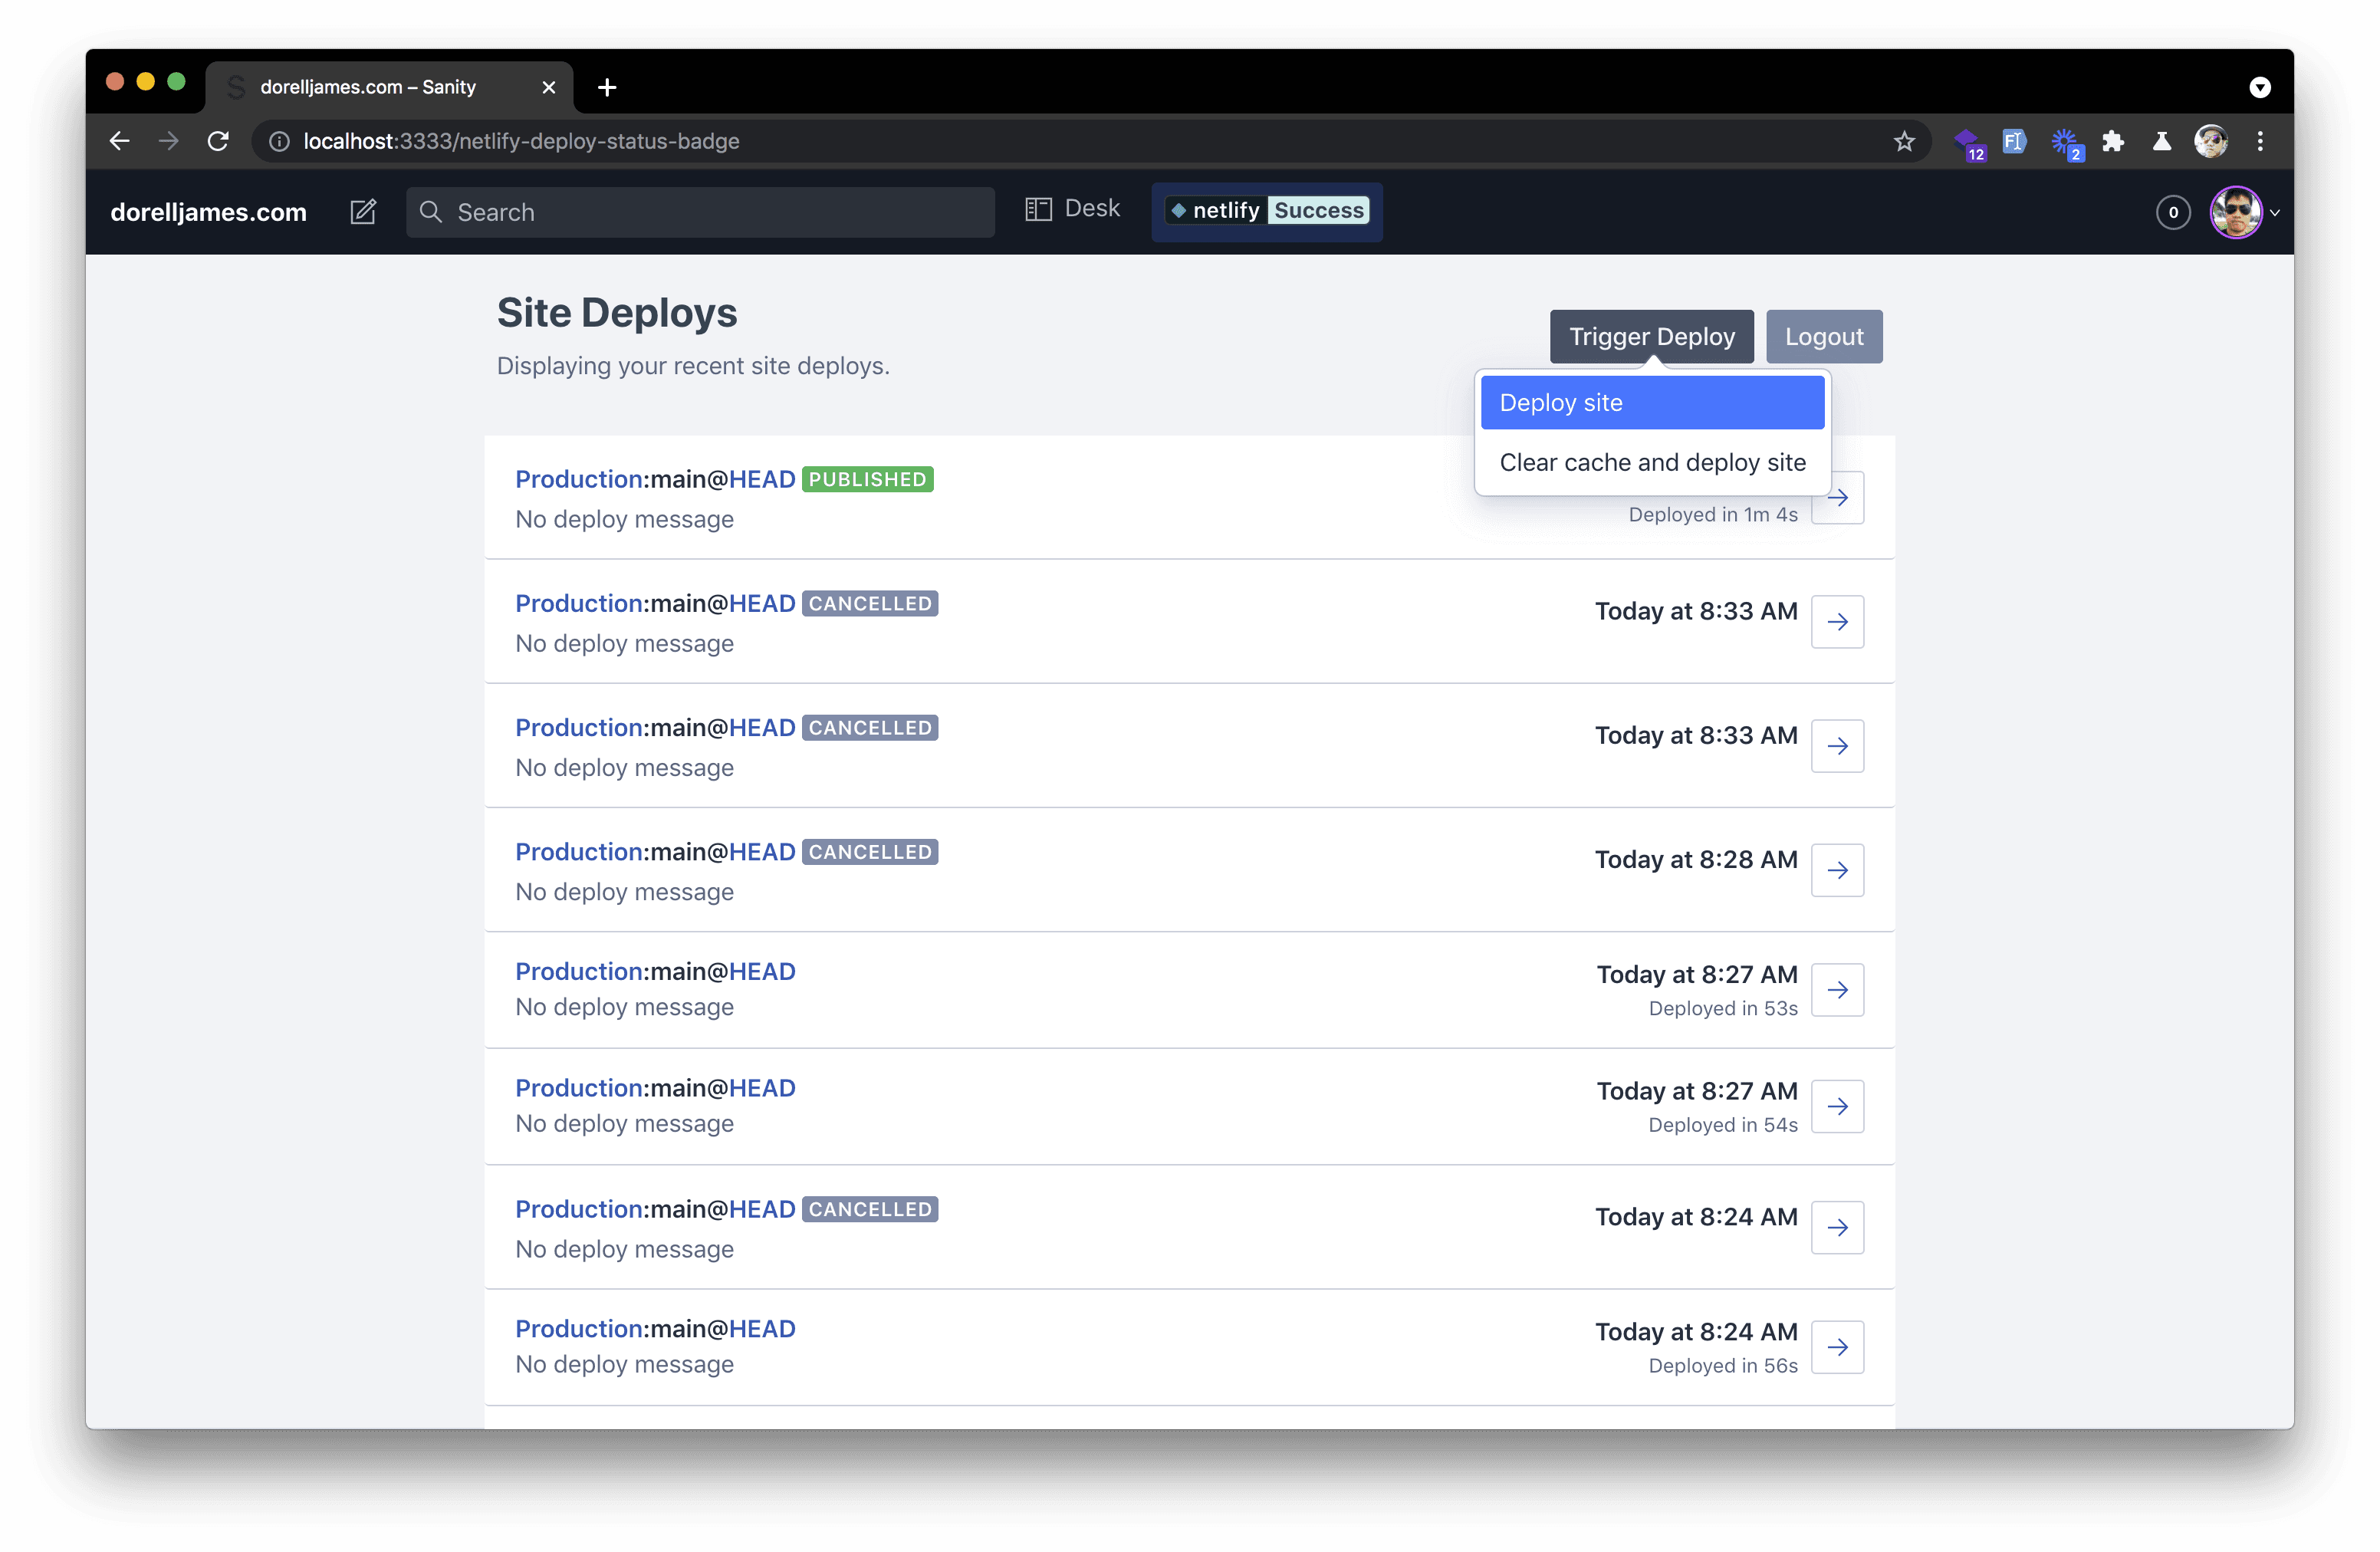
To make it even more useful, I added triggering a new build function behind an authentication mechanism thanks to Netlify's OAuth.
This isn't my first attempt at creating a plugin, and even though the first one never made it to the finish line, the hours spent on it were carried over to this one. So, really, all good. 😊
What is a plugin?
In a nutshell, and in my definition, a plugin extends the functionality of an existing app.
In Sanity, you can do as much and from a basic tool to one with routing, or a custom input component, or creating a dashboard using widgets or providing a custom asset source. Like really, the limit is up to your imagination.
Creating the plugin
The easiest way to get started with creating a plugin is to run the command:
$ sanity init pluginThis will bootstrap us and allow us to choose a template for the possible type of plugin we're going to create.

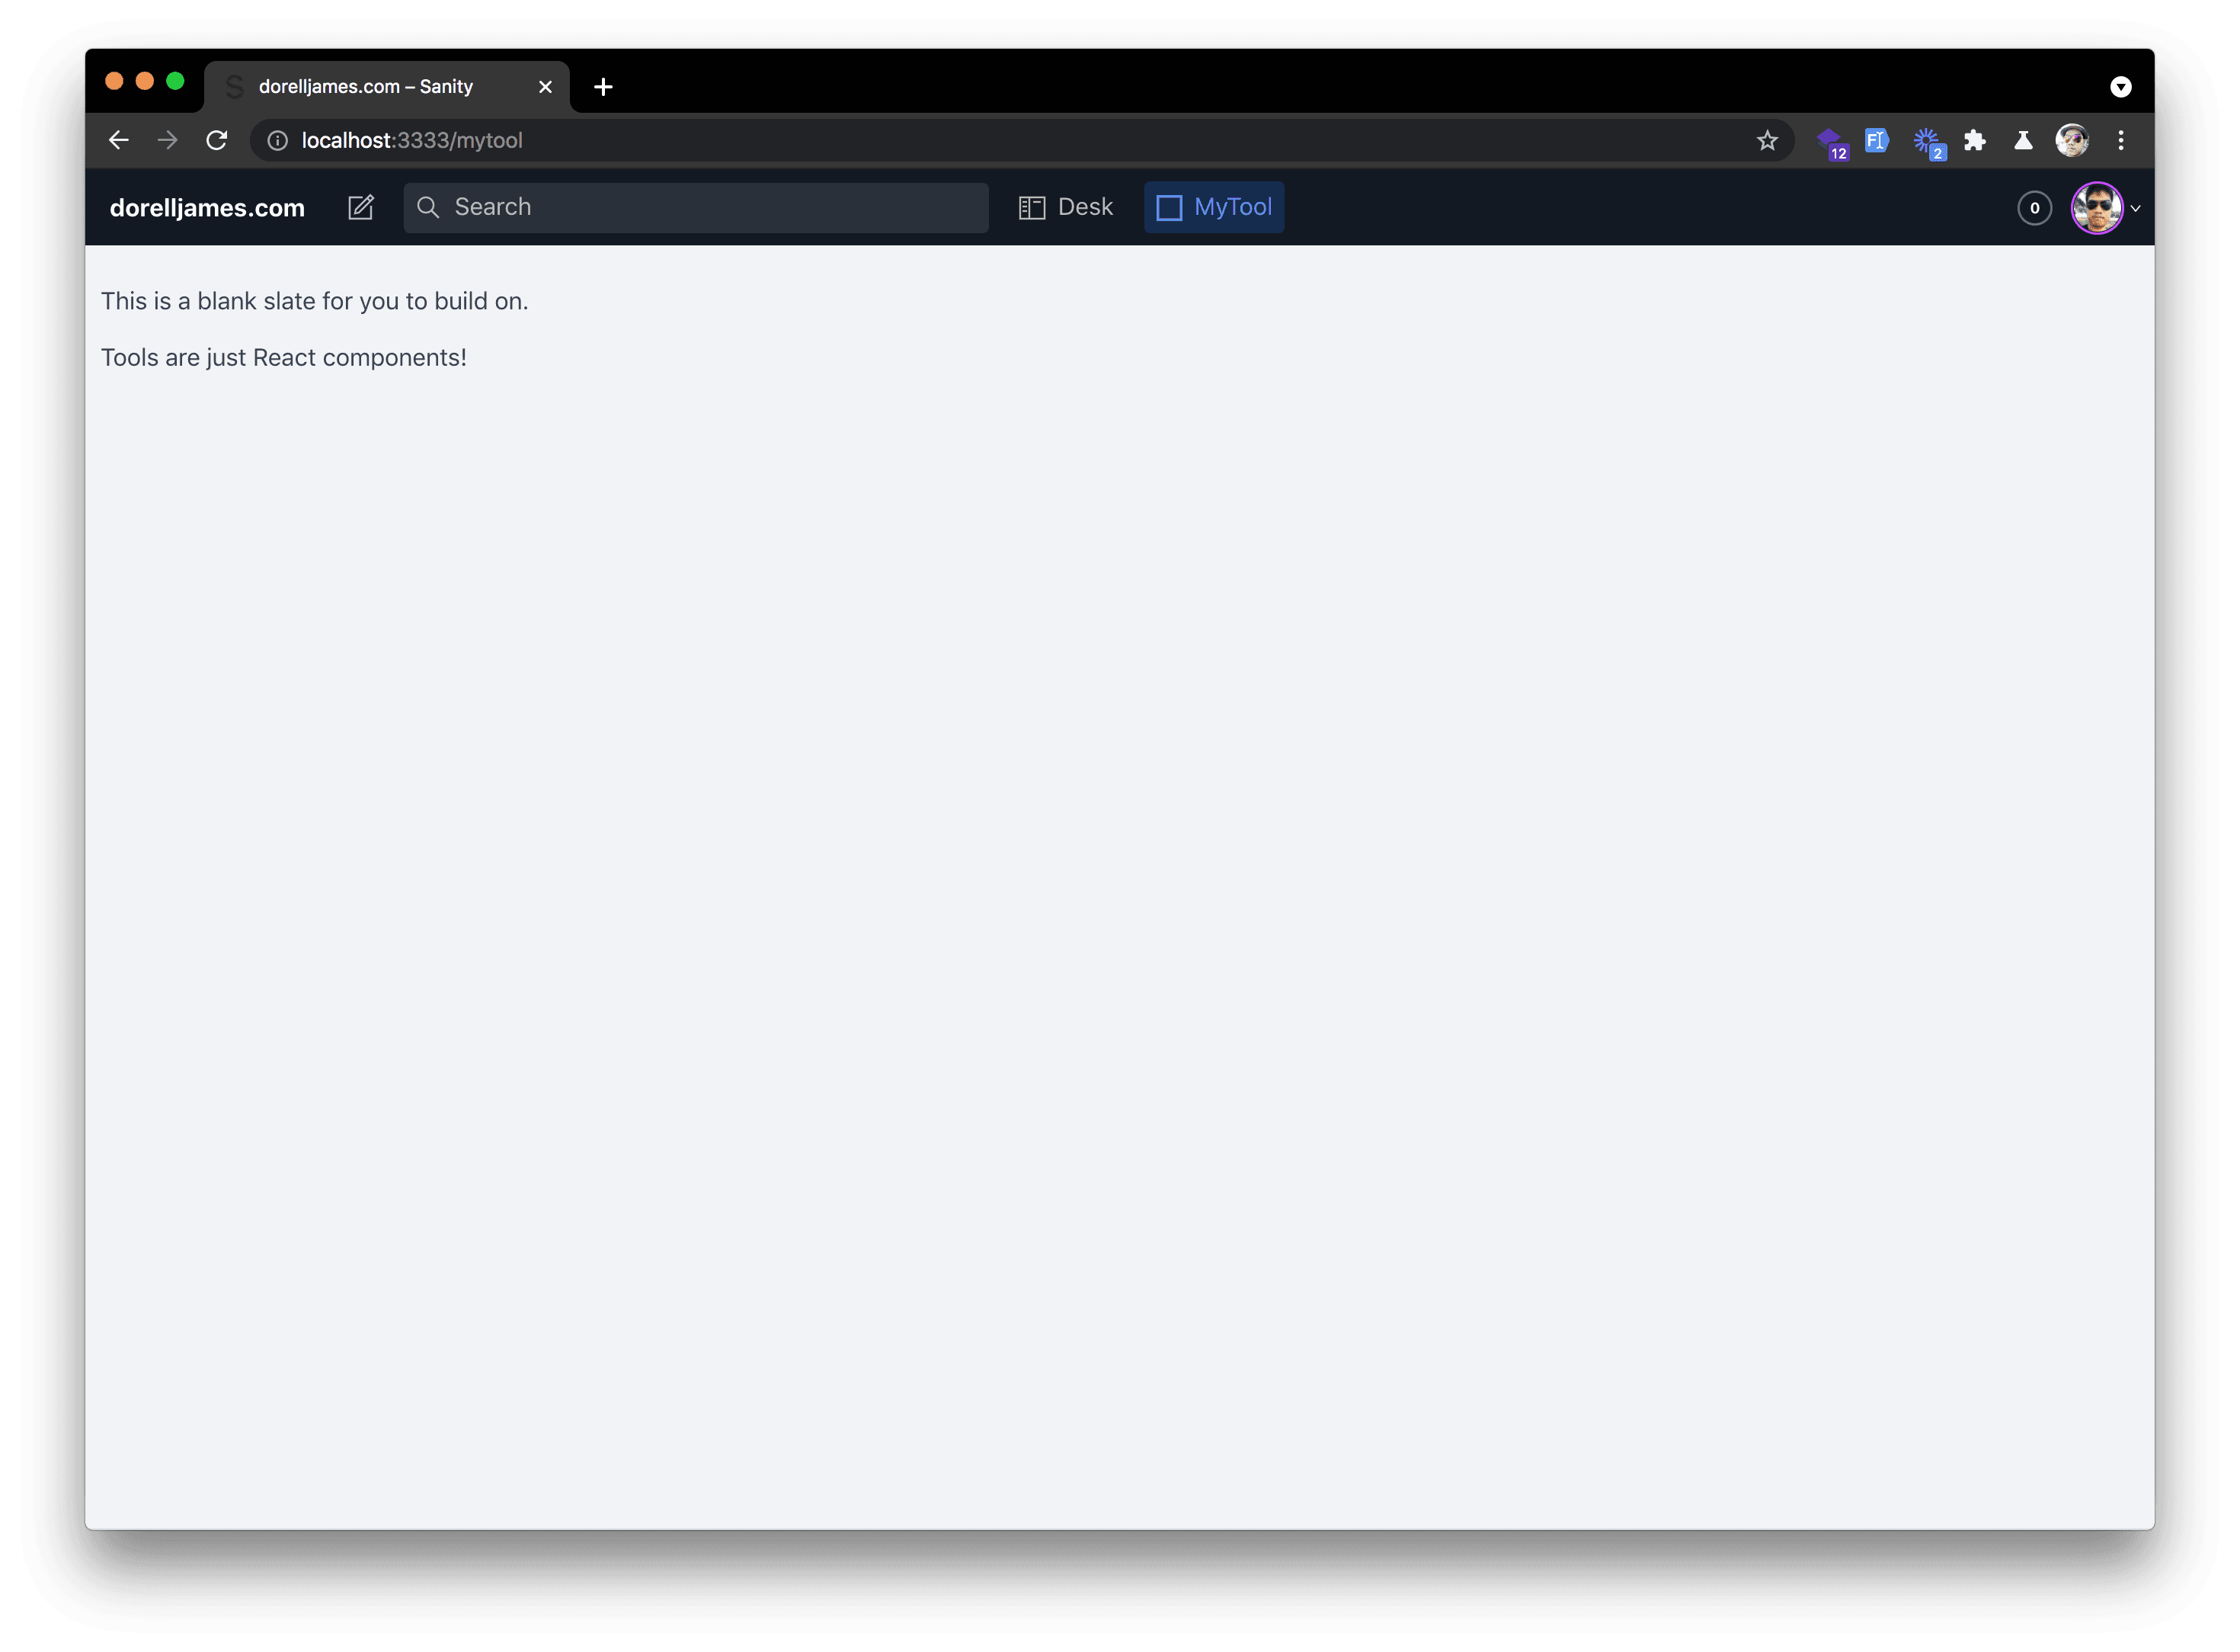
Out of all the options here, I found the "Basic, empty tool" the easiest as it gave me quick feedback on how this plugin works plus there's not a lot of files to scan through. It basically creates a new menu item named "MyTool" in the top bar. Clicking on that gives us an almost blank page like below.
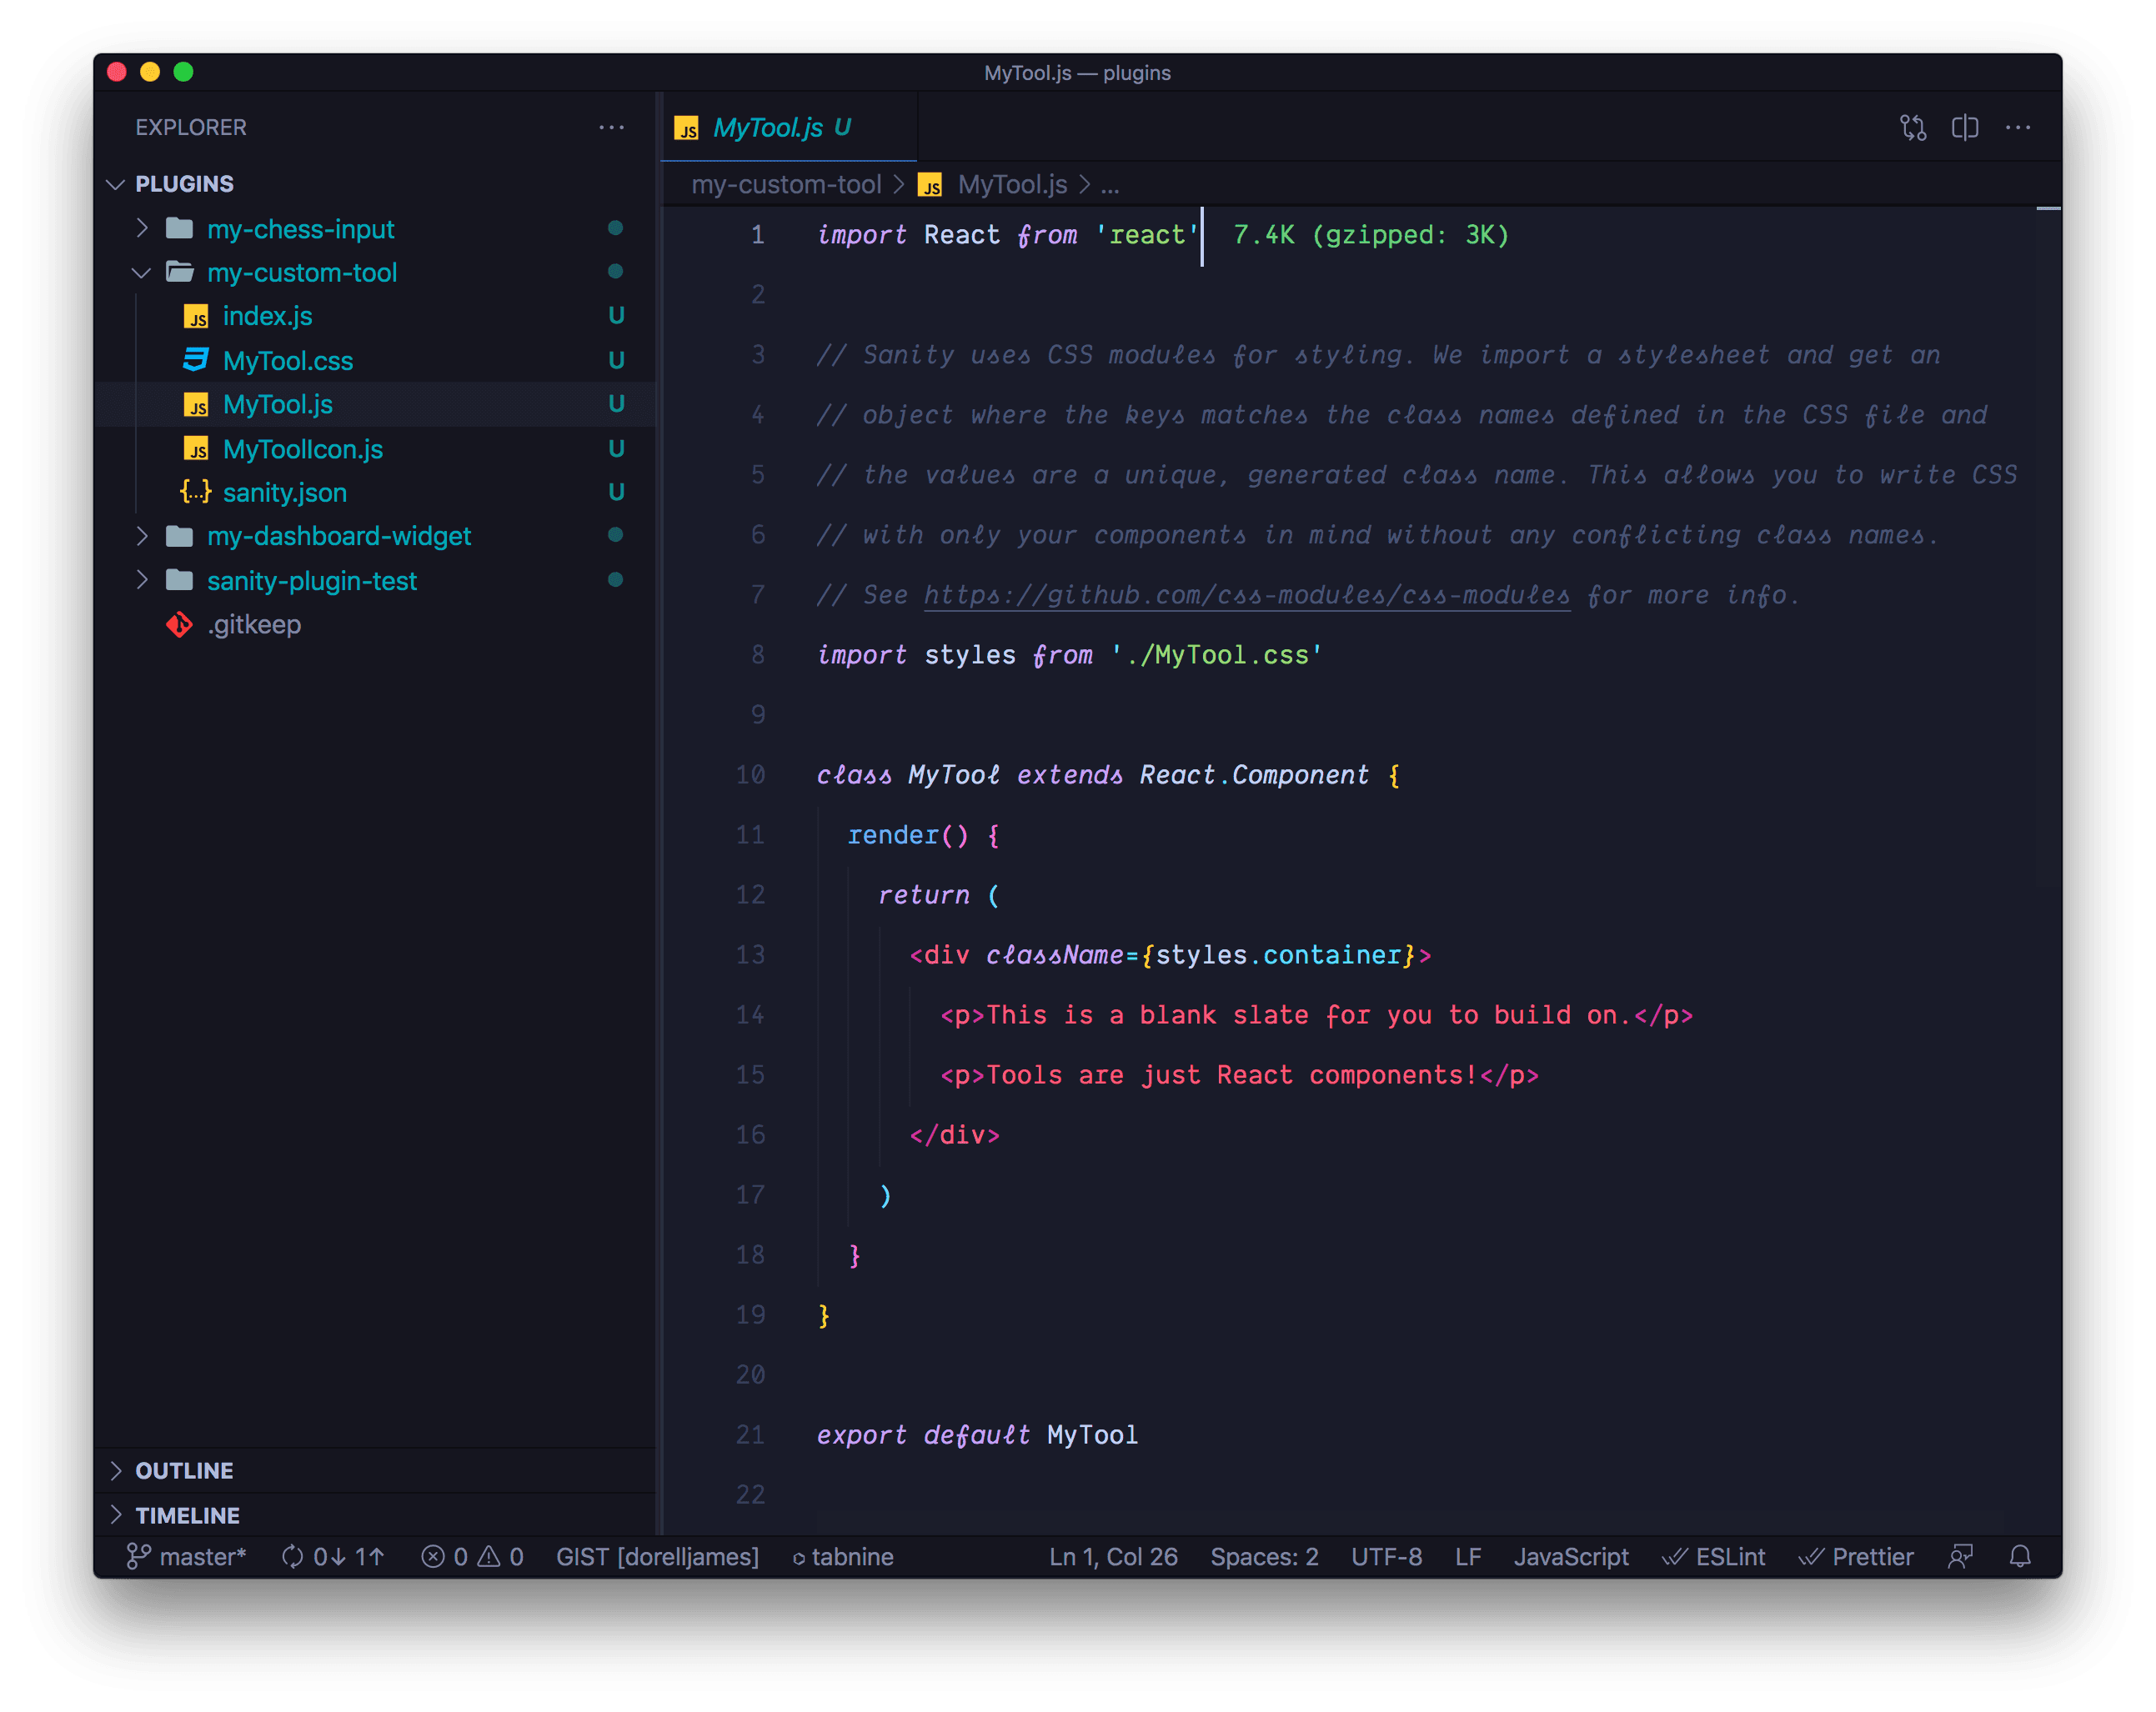
If you take a look at the source code at plugins directory, you'll find that MyTool.js is just your typical React Class component. You might ask if we could write a Function component? The answer is, yes, of course. The thing I'm not sure though is whether if it's better to write a Class component than a Function component. Do you guys know? Please share your thoughts in the comments below this post.
Anyhow, you should be able to find sanity.json in the plugin directory and if you click on that, you'll find the following contents below.
{
  "parts": [
    {
      "implements": "part:@sanity/base/tool",
      "path": "./index.js"
    }
  ]
}
To be honest, when I first encountered the above, it just didn't make sense to me at all. Maybe I was just bad at specifying the right keyword to Google at that time, but I didn't really found an answer to this until later.
"Everything in Sanity is a plugin", they said. The above is what they call the Part System. You can read more on that here but in a nutshell, Sanity is assembled from these so-called parts and plugins are basically a collection of "parts" that either add or replace or amend the original Sanity parts.
I found this Sanity plugin called Parts List. You can install it if you want to get to know more parts as it'll list them down for you. And to really get to understand these things, this intro from Sanity really helps.
My Sanity Plugin Requirements
Disclaimer: This plugin is basically just scratching my own itch and with a little hope that others may find it useful. My site is happily hosted at Netlify and I wanted a way to see how my site is doing without having to go to Netlify app and switch back and forth. Before I went to write this plugin, I went to Sanity.io plugins directory and NPM to find if such a thing already existed and I got excited when I found there's none yet.
My idea was pretty simple, show the Netlify status badge up there and update it real-time. Sooner, I realized that I also need to show the latest deploys as well to understand what's going on with my site and update them too continuously, and lastly, well, I thought, there are cases when I want to trigger a new build right here and there, so I thought, let's also add that.
So to summarise, here below:
☑️ Display Netlify's Status badge and update real time.
☑️ Display my site's deploys and update them real time.
☑️ Trigger a new build.
To be honest, I wasn't able to come up with that clean list above when I first started. And I think you'll find yourself in the same situation. If I may throw a piece of advice, just keep it simple. Simple that it does its job and it does it very well.
Building The Plugin
I won't go step by step on detailing how I created everything but instead, I'll tell you things where I tripped and had difficulty building this plugin.
To begin with, I bootstrapped the plugin using sanipack made by Espen (Principal Engineer at Sanity.io). You don't need to use this tool at all if you know how to set things up yourself.
According to the FAQ (derived):
"If you just make sure your Sanity plugin is ES5-compatible and that your
sanity.jsonand any references parts refer to the right directories, and you're good to go."
First problem, how to get the value from Sanity plugin config?
I thought if I wanted this plugin to be used by others, I need to make sure that they could specify their own Netlify site id.
So, the first problem I had is how to use the key/values specified in my plugin's config marked with the filename of <name-of-plugin>.json (netlify-deploy-status-badge.json) in Sanity Studio's config directory.
So, let's say if I have the following below as content:
{
  "apiId": "<YOUR-NETLIFY-API-OR-SITE-ID-HERE>"
}
The solution is simple, in my plugin, I just need to import like this below:
import config from "config:<name-of-plugin>";where <name-of-plugin> is of course netlify-deploy-status-badge.
So, the import will be now:
import config from "config:netlify-deploy-status-badge";

console.log(config.apiId) // <YOUR-NETLIFY-API-OR-SITE-ID-HERE>
See plugin's config helper file here as an example.
Next problem, how to resolve Sanity UI and Sanity Icons import errors?
While I bootstrapped my plugin using sanipack, I actually created it inside the plugins directory. As you may know, since both @sanity/ui and @sanity/icons are already included in Sanity Studio, I never ran into problems using those two. And even when I imported functions from date-fns later on. But when I moved it out, and test using npm link, I immediately saw a huge pile of import errors.
To solve this issue, I needed to install both @sanity/ui and @sanity/icons as dependencies in my plugins folder. I also went to add date-fns as well as it allowed me to format dates easier. I thought I don't need the last one but I guess the comfort it gave won me over this time. And oh, lastly, I need to install styled-components as it is also a dependency of Sanity UI. Yay!
...
"dependencies": {
  "date-fns": "^2.21.3",
  "prop-types": "15.7.2",
  "@sanity/icons": "^1.0.6",
  "@sanity/ui": "^0.33.19",
  "styled-components": "^5.2.3"
},
...
See package dependencies here.
And lastly, you'll have to import studioTheme and ThemeProvider from @sanity/ui and make sure to wrap your primary component with it. See the example below:
import { ThemeProvider, studioTheme, Container, Text } from '@sanity/ui'

export default function PrimaryComponent() {
  return (
    <ThemeProvider theme={studioTheme}>
      <Container>
        <Text>Yay! This works now...</Text>
      </Container>
    </ThemeProvider>
  )
}
See this Getting Started guide to learn more.
And I guess that's pretty much it. I guess the other things were pretty much about the logic of the app. And maybe perhaps, I don't remember them as much before. Remember, this is the second time I tried and I've pretty much learned things I didn't know before.
Thank you for reading up until here. I hope you can at least get something useful from this article to compensate for the time you've spent reading this.
What's next?
Build your own Sanity plugin! I think it's really important to really understand the Part System I mentioned in this article. I hope there was more documentation about it. I just try to make out of the examples of anything I can find. Probably a good tip is to browse the node_modules of the @sanity package you're working on. You'll find some examples there. 😉
References
- Sanity Part System - https://www.sanity.io/docs/parts
- My First Plugin - https://www.sanity.io/docs/plugin-custom-logo
- Sanipack - https://www.sanity.io/plugins/sanipack
- Sanity UI - https://www.sanity.io/ui/docs
- Sanity Icons - https://www.npmjs.com/package/@sanity/icons
- Sanity Plugins - https://www.sanity.io/plugins